 |||
|||
Accessibility features have a strange reputation of not being for everyone. We all need to make our devices more accessible in one way or another. Some accessibility options help you see things better. Some make it easier to determine the state of buttons or toggles. Some make your device play different or louder sounds. Some make using a touchscreen device more convenient or easier.
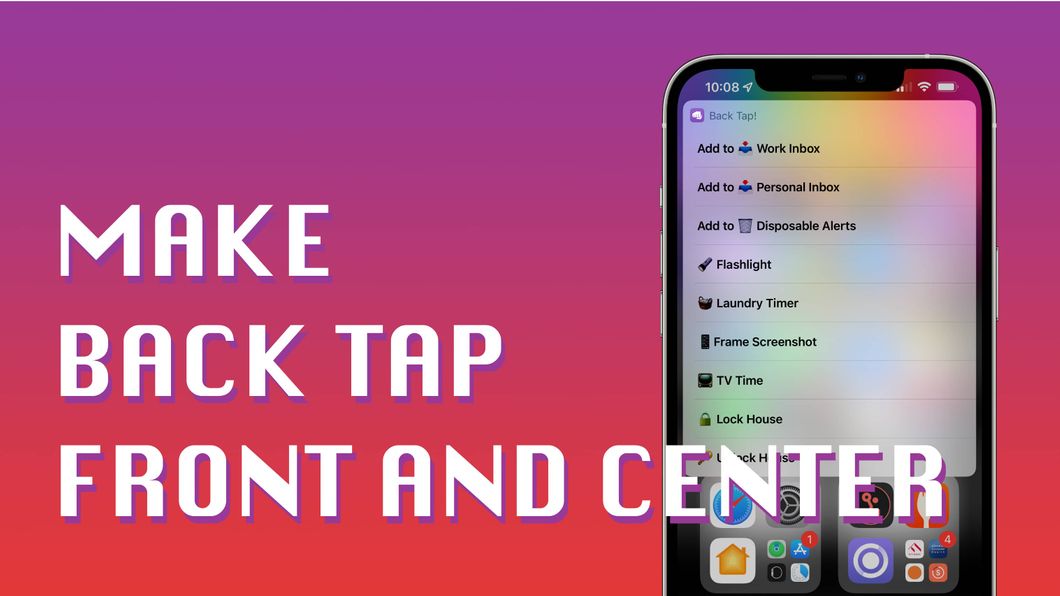
One of the things available in iOS for the last year or so is Back Tap. By tapping the back of your phone two or three times, you can make your phone do things. I’ve found it works pretty reliably, but it can be accidentally triggered by motion or vibration. For that reason, I don’t have Back Tap set to an action that can cause unintended behavior. For double-back-tap, I have that mapped to the “shake” gesture. After 15 years, shake-to-undo is still a thing, and I still find it ridiculous. Now, I just double-tap the back of my phone and get the Undo dialog. I have triple-back-tap set to run a Shortcut. You can choose any Shortcut in your library (or select from dozens of other actions) for either double- or triple-back-tap.
I chose these two actions (Shake Gesture and Run Shortcut) for a very specific reason - they cannot accidentally cause anythign to happen, and they cannot be triggered when the screen is off. So, jostling around in my pocket won’t unintentionally trigger the back tap, and if it is triggered accidentally, there is a second tap required on each of the actions before anything happens.
Turning on Back tap is easy. Just go into Settings -> Accessibility -> Touch -> Back Tap and choose which actions to apply to each gesture. You don’t need to set both. To set a Shortcut to Back Tap, you obviously need to create the Shortcut first. Let’s get to that part now!
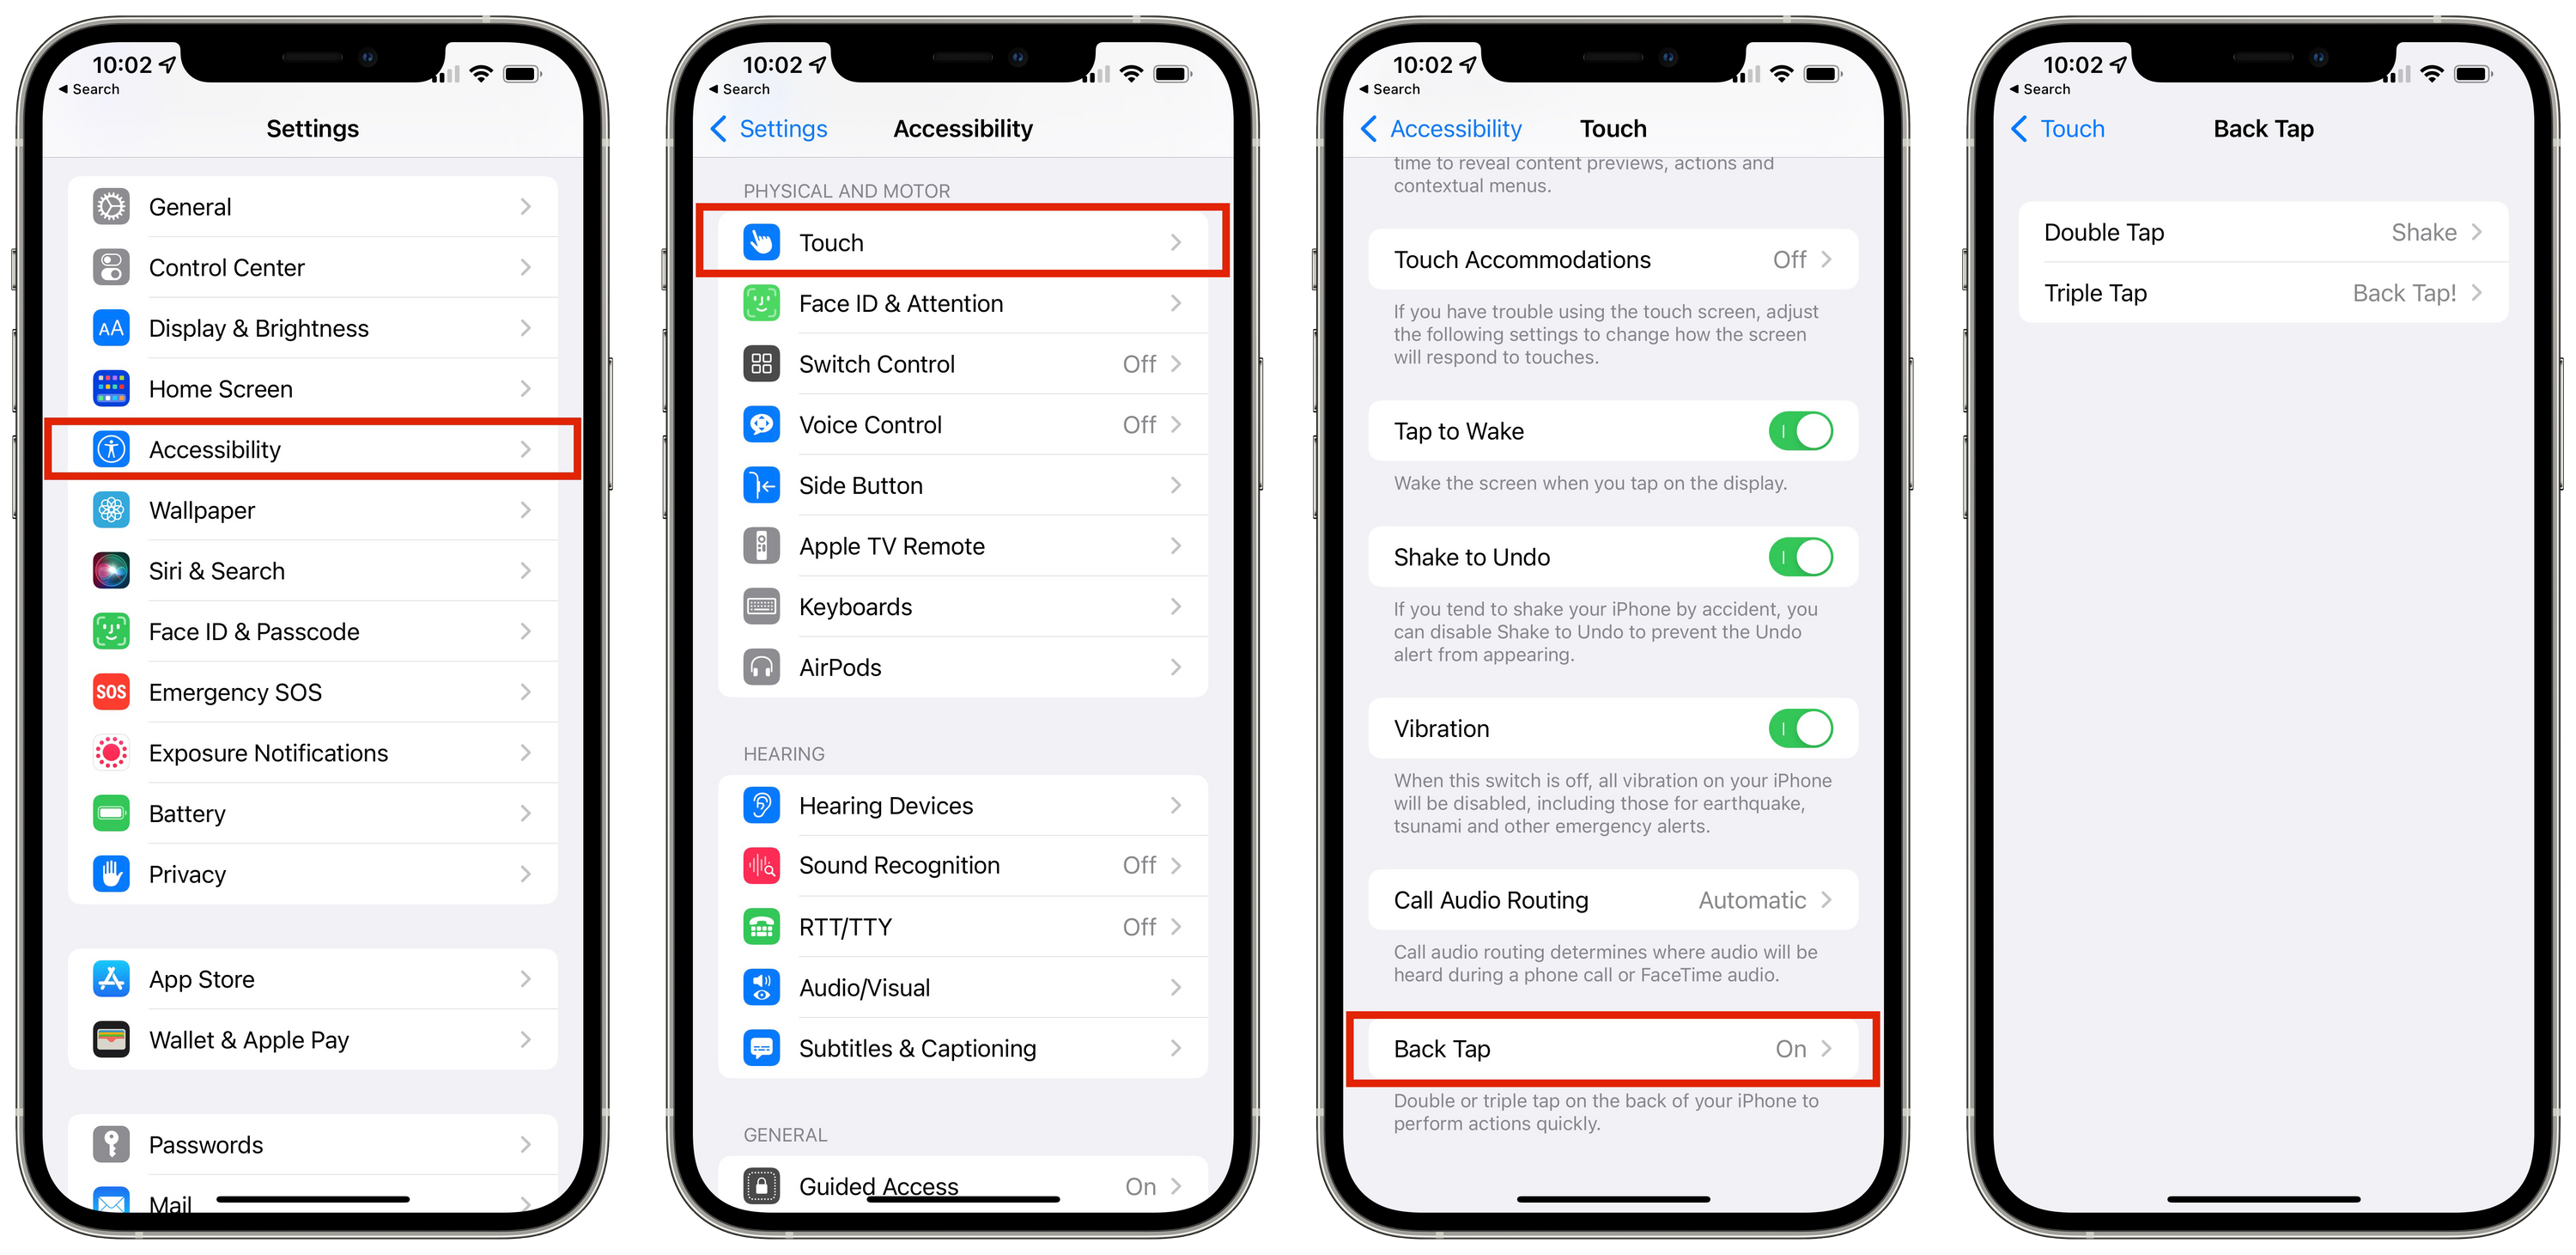 Get to Back Tap Through Accessibility Settings
This is a simple Shortcut. It’s primarily a Choose from Menu action that just runs other Shortcuts. I like using a Menu Shortcut for Back Tap for a few reasons
With the Shortcut built and assigned to the Back Tap gesture, triple-tapping the back of the phone (I find tapping right on the Apple logo is most reliable), the Menu will slide down from the top. If I select one of the “add to list” type actions, a text field pops up. I can type several things in (each on their own line), and the Shortcut will add each line to the appropriate list in the background without leaving my current screen. That’s the key part - I don’t break my flow. I also have a few other common things I do in the list. Toggling the flashlight, setting a specific timer, and unlocking my front door are all in there.
Once you get used to this action, it becomes second nature. I already have a list of other sub-menu Shortcuts and actions I’m thinking of adding.
I usually link to a version of the Shortcut to download, but since this one is very specific to each person, and it links to a bunch of other Shortcuts, that’s just not practical. But, as a bonus double-header Shortcuts post, I’ve also described my “Add to Inbox” Shortcut at the end.
Now - go build the Back Tap Shortcut!| Step | Image | Description |
|---|---|---|
| 1 | 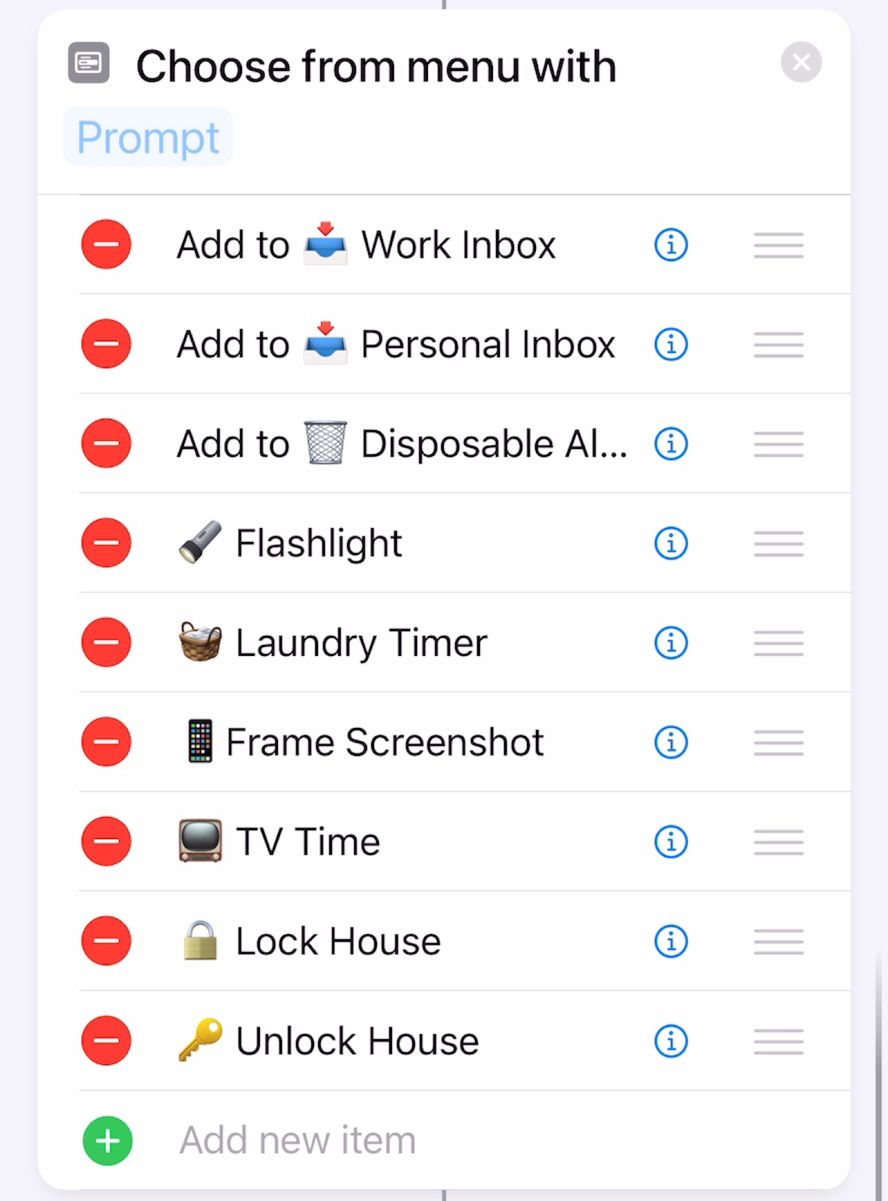 Choose From Menu Choose From Menu |
Step 1: Choose from Menu. You can add as many items as you like to a menu. When you add a line, a new Menu Option will be created. |
| 2 | 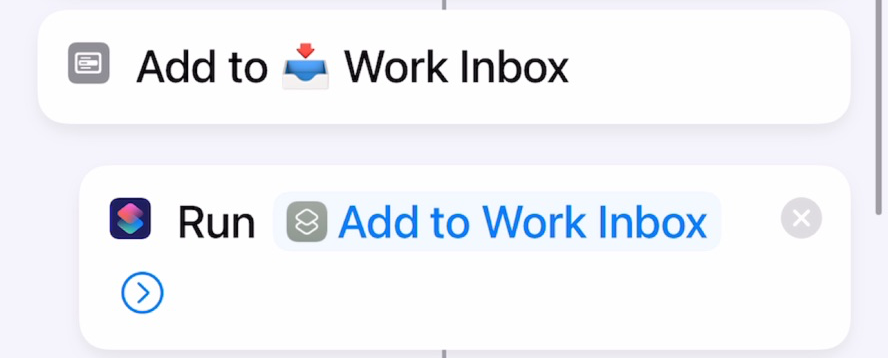 Menu Option > Run Shortcut Menu Option > Run Shortcut |
Step 2: Menu Option > Run Shortcut. Select a Shortcut to run when the menu item is selected. This will run my “Add to Work Inbox” Shortcut, which I’ve included below |
| 3 | 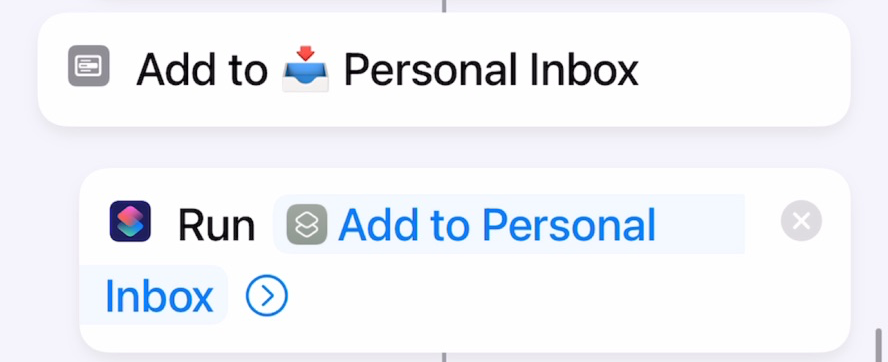 Menu Option > Run Shortcut Menu Option > Run Shortcut |
Step 3: Menu Option > Run Shortcut. Run my “Add to Inbox” Shortcut |
| 4 | 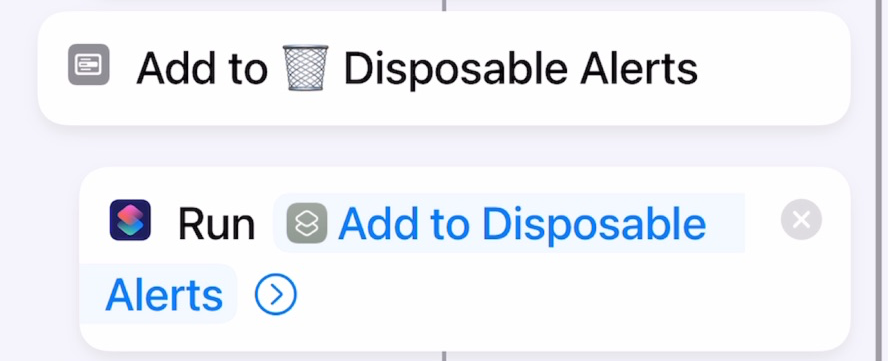 Menu Option > Run Shortcut Menu Option > Run Shortcut |
Step 4: Menu Option > Run Shortcut. Run my “Add to Disposable Alerts”1 Shortcut |
| 5 | 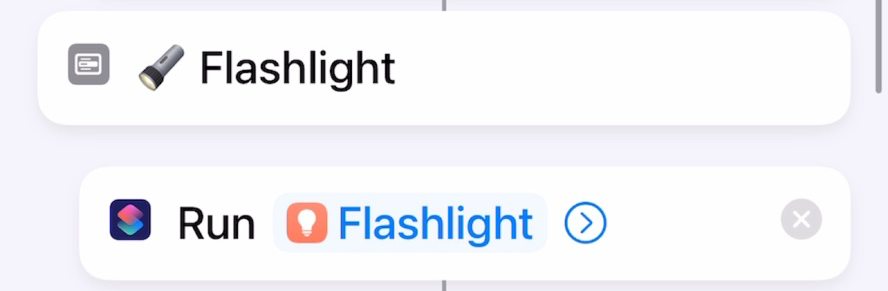 Menu Option > Run Shortcut Menu Option > Run Shortcut |
Step 5: Menu Option > Run Shortcut. Run my “Toggle Flashlight” Shortcut |
| 6 | 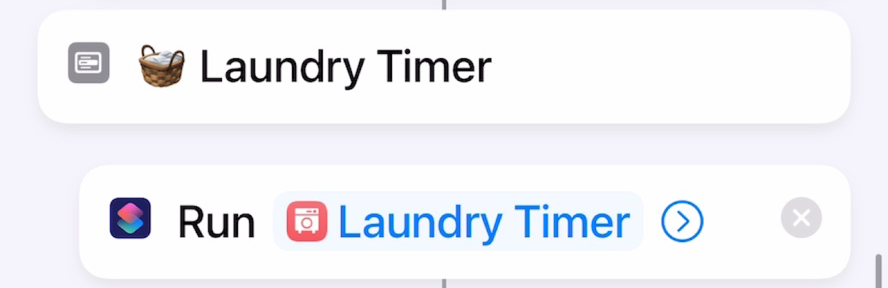 Menu Option > Run Shortcut Menu Option > Run Shortcut |
Step 6: Menu Option > Run Shortcut. Run my “Laundry Timer” Shortcut that presents another menu asking how many minutes to set, then creates a Reminder in my Disposable Alerts list for that many minutes in the future. |
| 7 | 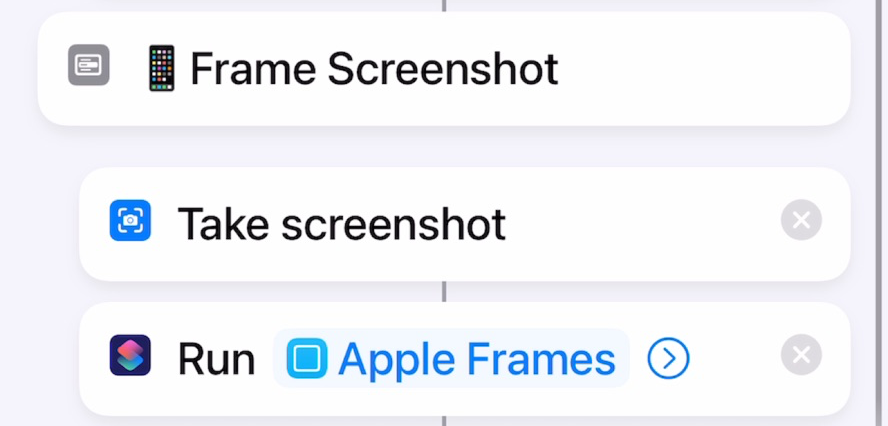 Take and Frame Screenshot Take and Frame Screenshot |
Step 7: Take Screenshot is smart enough to dismiss the menu before snapping. Then, I Run Shortcut to trigger Federico Viticci’s amazing “Frames” Shortcut that puts the appropriate device frame around the screenshot. |
| 8 | 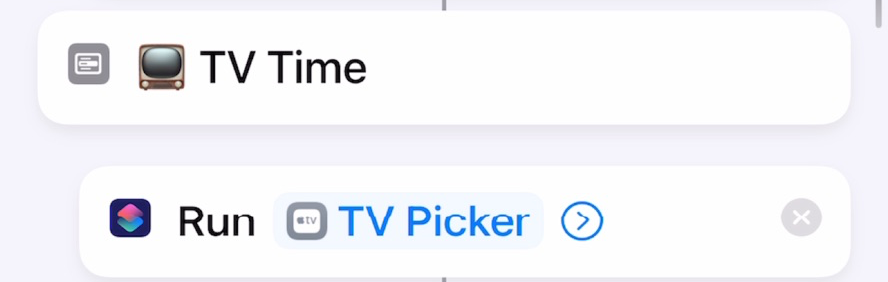 Menu Option > Run Shortcut Menu Option > Run Shortcut |
Step 8: Menu Option > Run Shortcut. Run my “TV Picker” Shortcut that presents a bunch of options to turn on/off the TV, access the Sonos app for volume control, and launch some favorite apps on my AppleTV. |
| 9 | 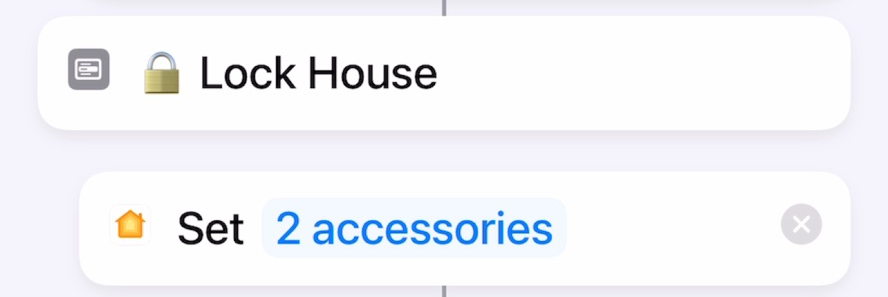 Control Home Control Home |
Step 9: Control Home. Locks the deadbolts on my front and back door. |
| 10 | 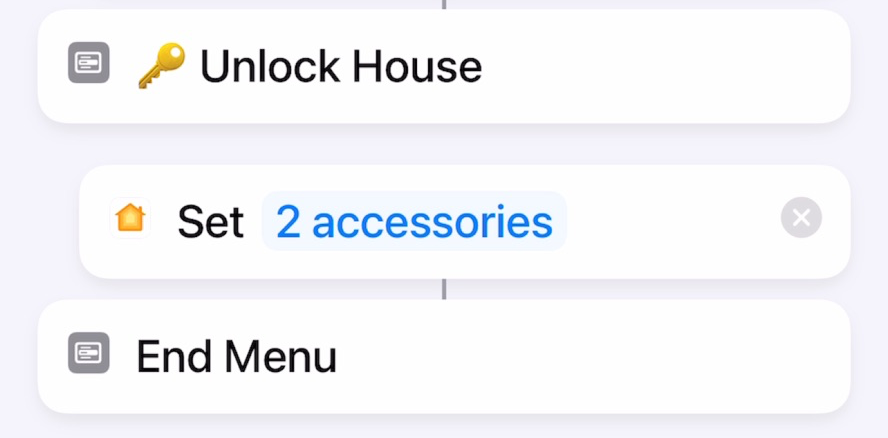 Control Home Control Home |
Step 10: Control Home. Unlocks the deadbolts on my front and back door. |
| Step | Image | Description |
|---|---|---|
| 1 | 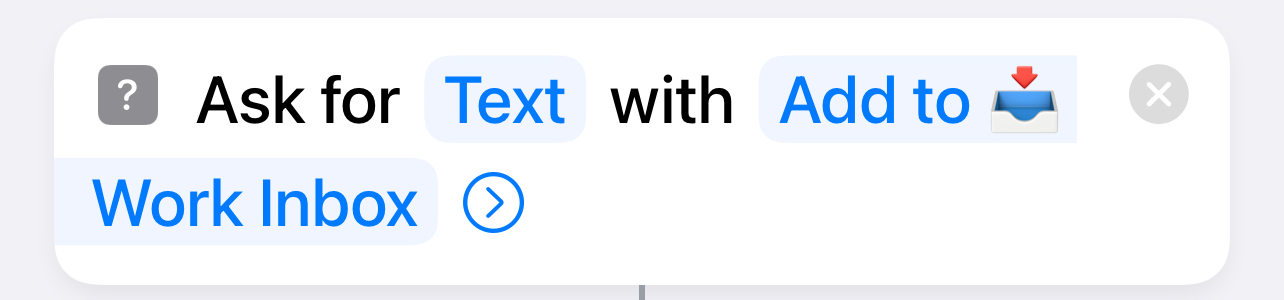 Ask For Input Ask For Input |
Step 1: Ask for Input. Ask for text input. Multiple items can be added, one per line. I use the title “Add to 📥 Work Inbox”. No title is necessary, but it’s a good confirmation that things are going to the right place |
| 2 | 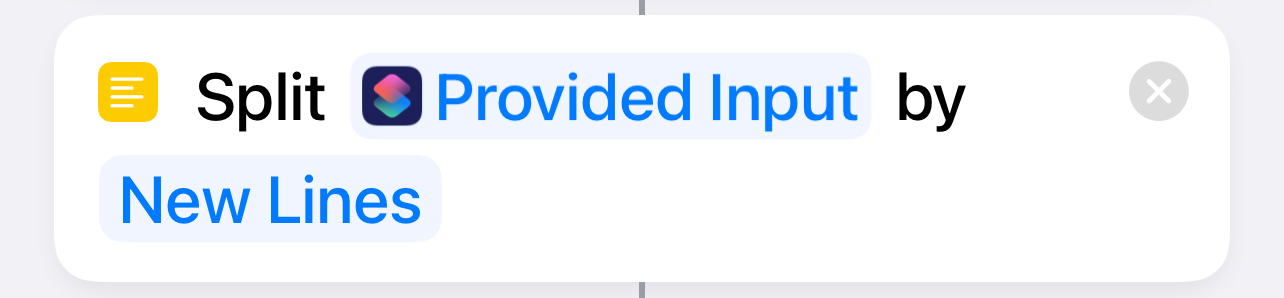 Split Text Split Text |
Step 2: Split Text. Splits the text from the previous step by line. |
| 3 | 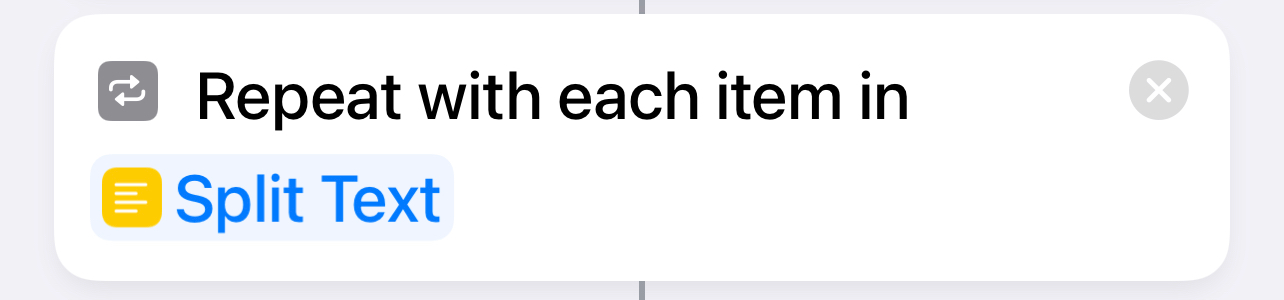 Repeat With Each Repeat With Each |
Step 3: Repeat With Each. This is why we split the text. This action will repeat the included actions once for every item from the Split Text. |
| 4 | 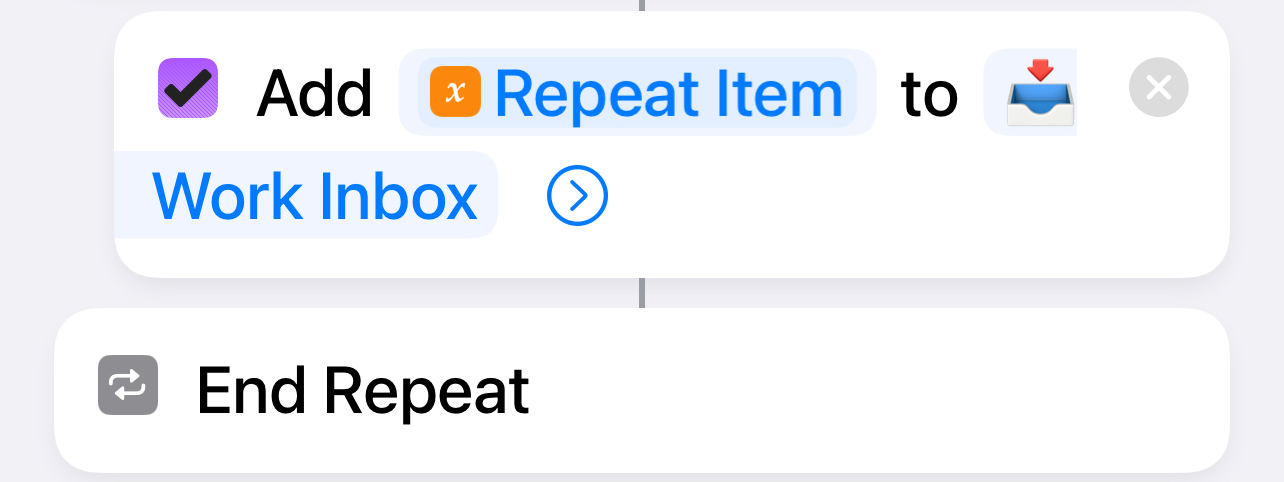 Add Item and End Repeat Add Item and End Repeat |
Step 4: Add Item. This OmniFocus-specific action will take the text from each line and add it to the specified task list. You can also set lots of other metadata in this action by expanding the dropdown, but I find it better to do that during my Inbox triage. If you’re not an OmniFocus user, you can replace this action with the action provided by your task manager2 |
You can download the Shortcut here