 |||
|||
Sitting here watching Monsters, Inc. with my son on a lazy Friday-after-Thanksgiving, I was building out a new Shortcut that required my Device Name. I could have just opened Settings and looked up the name, but why do that when you can build an overcomplicated automation to do it?
This Shortcut can get the name, model, resolution, and a few other details and let you copy one or all of the attributes to the clipboard. This version of the Shortcut requires Toolbox Pro to build out the menu with subtitles, but the Shortcut could easily be rebuilt using the default Choose from Menu action.
| Step | Image | Description |
|---|---|---|
| 1 |  Get System Version Get System Version |
Step 1: Gets OS version |
| 2 |  Get Device Name Get Device Name |
Step 2: Gets Device Name |
| 3 |  Get Device Model Get Device Model |
Step 3: Gets Device Model (iPhone, iPad, etc.) It does not get the exact device, but the device family. |
| 4 |  Get Screen Width Get Screen Width |
Step 4: Gets screen width in pixels |
| 5 |  Get Screen Height Get Screen Height |
Step 5: Gets screen height in pixels |
| 6 |  Get Current Appearance Get Current Appearance |
Step 6: Is the device in Light Mode or Dark Mode? |
| 7 |  Get Current Brightness Get Current Brightness |
Step 7: Gets current screen brightness as a decimal |
| 8 | 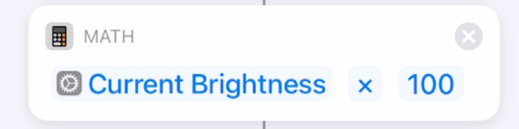 Convert to Percent Convert to Percent |
Step 8: Multiply the decimal to get to a percentage |
| 9 | 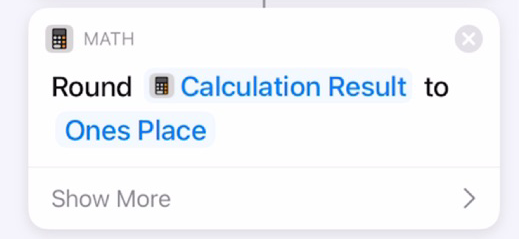 Round to Whole Number Round to Whole Number |
Step 9: Round the percentage to a whole number. This avoids things like “Brightness: 68.34523%” |
| 10 |  Get Current Volume Get Current Volume |
Step 10: Gets the current volume as a decimal |
| 11 | 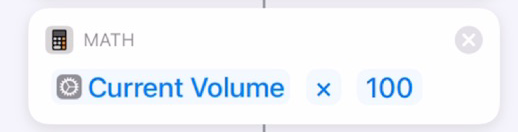 Convert to Percent Convert to Percent |
Step 11: Convert to percent |
| 12 | 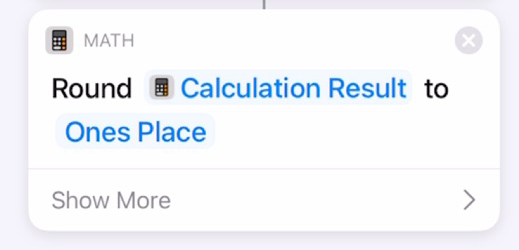 Round to Whole Number Round to Whole Number |
Step 12: Round to whole number |
| 13 | 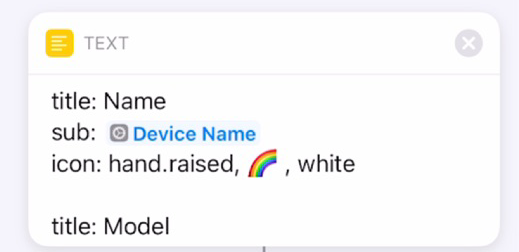 Text Block Text Block |
Step 13: This text block is the basis for the “Create Quick Menu” command in the next step. Toolbox Pro can create a nice looking menu with subtitles and icons using a text syntax |
| 14 | 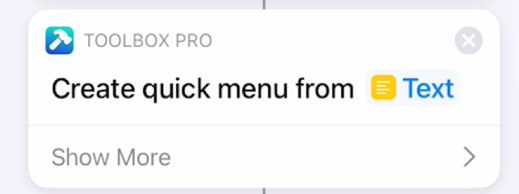 Create Quick Menu Create Quick Menu |
Step 14: This action converts the text block into a temporary list of contacts |
| 15 | 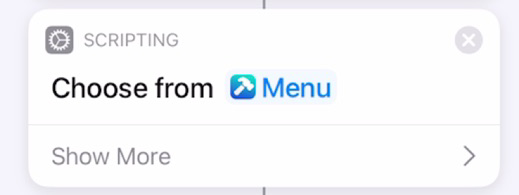 Choose from List Choose from List |
Step 15: This displays the List as a Menu 1 |
| 16 | 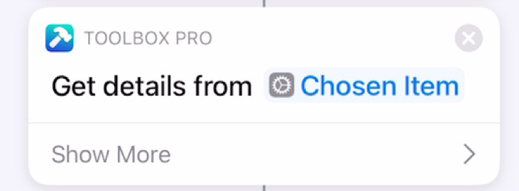 Get Details From Chosen Item Get Details From Chosen Item |
Step 16: This passes your selection to the next step |
| 17 | 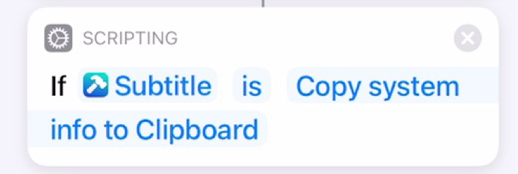 If Block If Block |
Step 17: IF the subtitle of the chosen menu item is “Copy system info to Clipboard”, then perform the next step. This is the subtitle of the “All Info” menu action, as explained below |
| 18 | 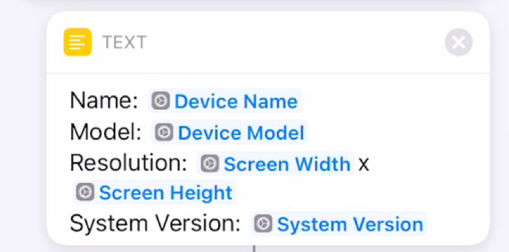 Text Block Text Block |
Step 18: This Text Block contains all of the system info gathered in the first few steps. |
| 19 |  Otherwise Otherwise |
Step 19: Otherwise |
| 20 | 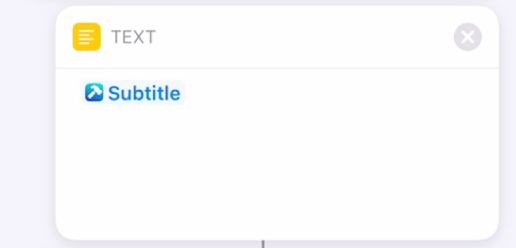 Text Block Text Block |
Step 20: This Text Block contains the Subtitle field of the chosen menu item, which is the selected data |
| 21 |  End If End If |
Step 21: Close the If Block |
| 22 | 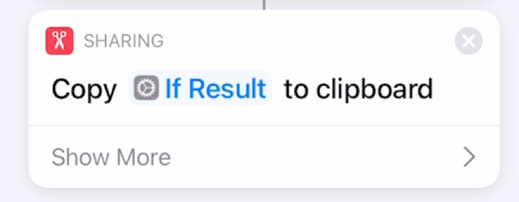 Copy to Clipboard Copy to Clipboard |
Step 22: Copy whatever the If Block determined to be the correct data to the clipboard. |
One thing I hate about Shortcuts is there is no way to expand a Text Block. If you have one line or a hundred, the Text Block is the same size. Drives me crazy.
Anyway, here’s what’s in the text blocks that you can’t read.
This block builds the menu for Toolbox Pro. It’s a pretty slick implementation. Just send in a text block with title:, optional sub: for a subtitle, and an optional icon: to display an icon. Icons can be an emoji, an SFSymbol, or a FontAwesome icon. There is documentation in the Toolbox Pro app.
Here’s the text I use to create the menu in the header image:
title: Name
sub: %Device Name%
icon: hand.raised, 🌈 , white
title: Model
sub: %Device Model%
icon: iphone, 🌈 , white
title: Resolution
sub: %Screen Width%x%Screen Height%
icon: desktopcomputer, 🌈 , white
title: System Version
sub: %System Version%
icon: gearshape, 🌈 , white
title: System Appearance
sub: %Current Appearance%, %Brightness Percent%% Brightness
icon: moon.stars, 🌈 , white
title: All Info
sub: Copy system info to Clipboard
icon: info, 🌈 , white
For the icon item, the first bit is the SFSymbol name, the rainbow emoji tells Toolbox Pro to “pick any system color” for the background, and the “white” is the actual color of the icon. The color parameters can be set to any system or hex color combination, left transparent, or randomized.
This block grabs the Magic Variables from the first few steps and formats them nicely to be copied as a summary block. Here’s the text:
Name: %Device Name%
Model: %Device Model%
Resolution: %Screen Width%x%Screen Height%
System Version: %System Version%
System Appearance: %Current Appearance%
Brightness: %Brightness Percent%%
Volume: %Volume Percent%%
There you have it. Yes, for this one thing I could have looked in Settings. But, this Shortcut gives me a lot more info, allows me to copy it to my clipboard, and can be called up from the search screen.
If I have to do anything more than twice, I try to automate it, even if it gets overcomplicated. Because that’s what makes life fun.
You can get the shortcut here
When setting this, set to Choose From Menu -> As Contact. This creates a temporary contact list of menu items, which allows the icons to be built and extra fields like the subtitle to work. 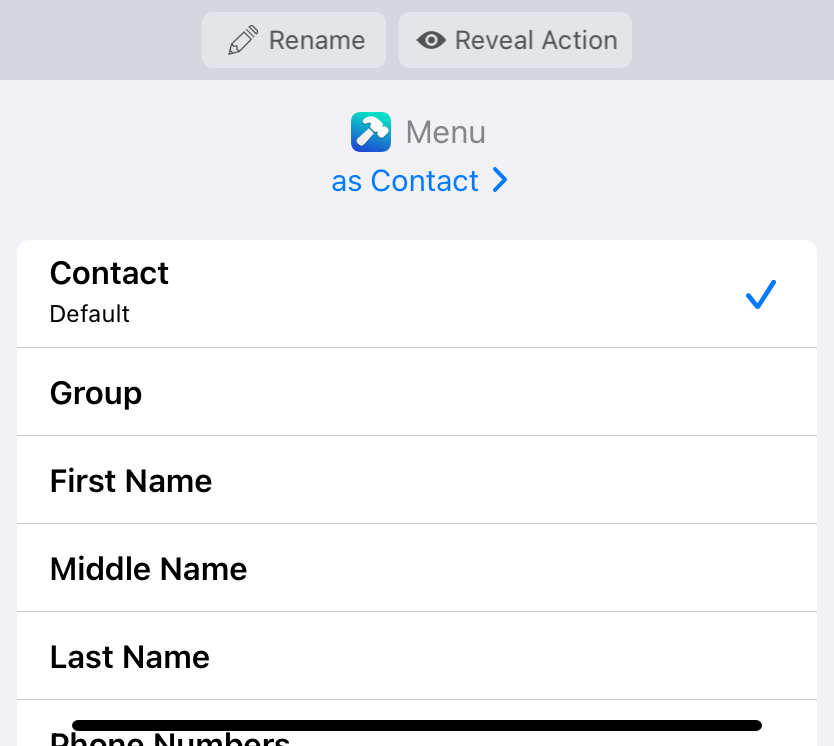 ↩︎
↩︎